As you know, daylilies can grow in almost any garden conditions, but still the results will be incomparably better if you plant them correctly and create optimal conditions.
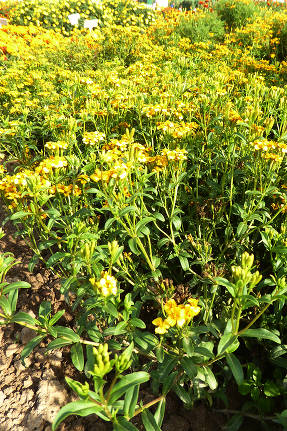
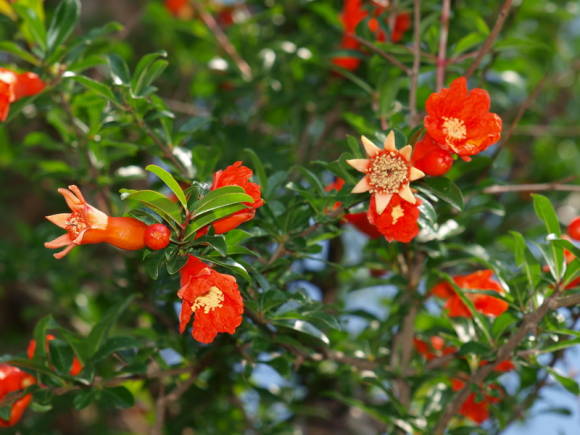
Where to plant. Most varieties bloom well in open, sunny areas. Partial shade is also fine, but you need direct sunlight to illuminate the plants for at least 6 hours a day. Delicate colored varieties - pale yellows, pale pinks and other pastel colors - need full daylight for their colors to show their full beauty. Most reds and purples need protection from the scorching midday rays, as the dark color tends to absorb heat and therefore does not last as well as the light color, but can fade, and stains sometimes appear. Permanent partial shade has its drawback - the stems are strongly stretched and can turn out to be too thin and weak.
Soil type. Any good garden soil will work for daylilies. But, of course, in too heavy it is recommended to add leaf humus, well-ventilated peat, sand to change its structure and make it more porous, permeable. Too light, sandy, compost and clay are added in order to reduce porosity and increase the soil's ability to retain moisture.
Drainage. Daylilies prefer well-drained soil. In places that are too damp, swampy, with a close occurrence of groundwater, it is necessary to arrange high ridges - 8-15 cm from the soil level.
Landing. Daylilies can be planted and replanted at almost any time from spring to autumn. But, of course, the climate and weather in different regions play a role. In the north, spring planting is preferable, and too late is undesirable, since the plants may not have time to root well before the onset of severe frosts. An experienced gardener can transplant in late autumn, taking into account the characteristics of the varieties and applying mulching cover.
The condition of the planting material itself is an important factor when planting. Specimens brought from afar are more sensitive to unfavorable planting conditions than those that you simply transplant from place to place on your site. Freshly dug, undivided bushes can be replanted at any time. If you divide them, then it is better not to transplant too late - sometimes too few roots remain, and if transplanting takes place in August, then new roots will still have time to grow, and thus nothing will be lost, and if later, there is a risk of losing the plant.
How to plant. If you have bought or received new plants in the mail, they are usually dry, with cut roots. Such planting material must be soaked for several hours in water or in a weak solution of mineral fertilizer. You will see how they change - swell, revive. Bad, dried-up roots will immediately become visible, which should be removed. Daylilies can be stored for several days or even weeks outside the soil, so they tolerate shipping very well.
The dug daylilies can lie quietly for 2 weeks in a shaded and well-ventilated place, for example, if you have no time to replant them or you need to prepare the soil. In cool, humid times, you can simply dig them in the sand (precisely in the sand so that new roots do not start growing immediately, which will be too fragile and may break off during the subsequent transplant). Make sure your daylilies are healthy and in good condition before planting. Remove dead and rotten roots. If you bought daylilies, then the roots must be thoroughly rinsed so as not to introduce pests. The leaves are pruned to 15–20 cm, in the shape of an inverted Latin "V".Most often, the roots are pruned to 20-30 cm, this facilitates the growth of young roots after transplantation. The soil should be cultivated to a depth of at least 30 cm, and the planting hole should be slightly larger in diameter than the root system. Pour a mixture of compost, good garden soil, peat, sand, well-rotted manure inside the hole. Make a cone out of this mixture, compact it properly and spread the roots over it. If the soil under the roots is too loose, then after a while the plant may become sucked in and excessively buried. The root collar should be buried no more than 2.5 cm from the soil surface. Then sprinkle the roots with a fertile mixture, cover with earth, compact and water. Make sure there are no air pockets left. The distance between the specimens should be from 45 to 60 cm, some varieties grow very quickly, these should be planted further from each other so as not to disturb the decorative effect during flowering.